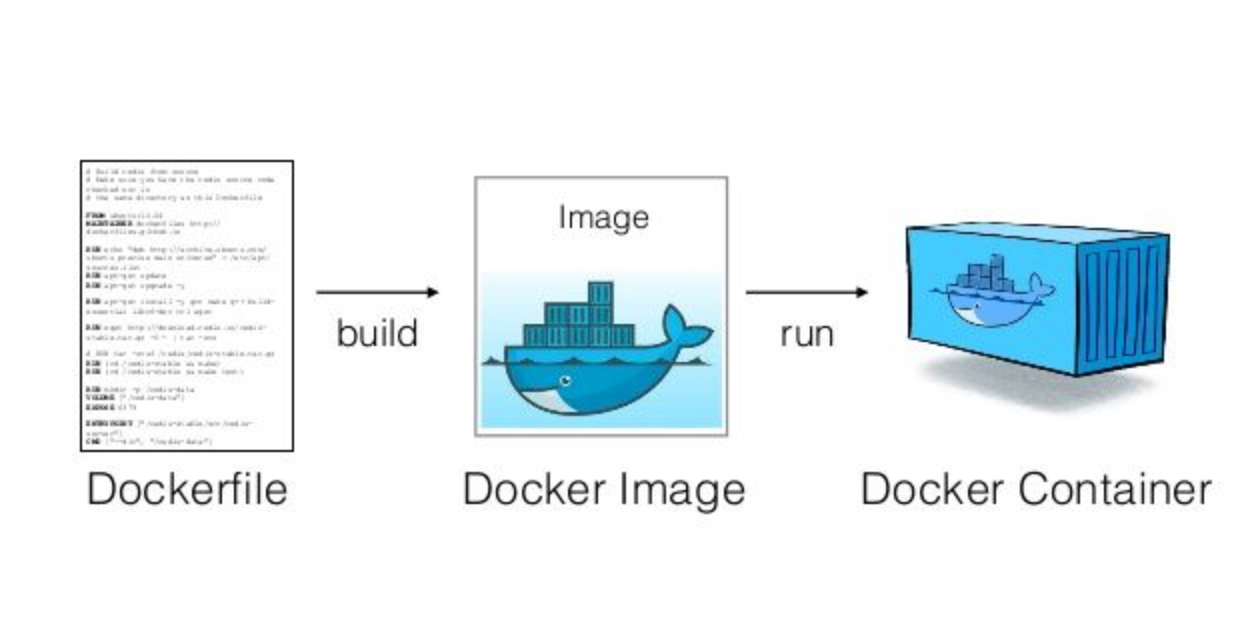
Here's the deal: you've got your dev containers working perfectly. New developers join your team and they're productive in minutes instead of days. Life is good. Then some asshole from DevOps asks "how do we deploy this?" and suddenly you realize your beautiful 2.3GB dev container with VS Code server and 47 debugging extensions is a fucking nightmare for production. I learned this the hard way when our first deploy took 12 minutes just to pull the image.
Your dev container probably looks something like this:
- Based on a Microsoft dev container image with VS Code server baked in
- 2GB of dev tools you don't need in production
- Extensions that require GitHub Copilot or other cloud services
- Debug symbols and development dependencies eating disk space
- Running as the
vscodeuser instead of proper security practices
Meanwhile, your production environment needs:
- Minimal attack surface (no dev tools, no VS Code, no unnecessary packages)
- Proper security (non-root user, minimal permissions, no secrets in environment)
- Fast startup times (no downloading extensions or initializing dev tools)
- Small image size (faster deploys, less storage cost, better performance)

The Multi-Stage Docker Strategy That Actually Works
The solution isn't to throw away your dev containers - it's to use multi-stage Docker builds to create different images from the same source. One stage for development (with all the dev tools), another for production (lean and mean). This approach follows Docker's best practices and the 12-Factor App methodology for building scalable applications.
Here's a real example from a Node.js project that got tired of debugging deployment issues:
## Stage 1: Development environment (what your dev container uses)
FROM mcr.microsoft.com/devcontainers/javascript-node:18 AS development
RUN apt-get update && apt-get install -y \
    git \
    curl \
    vim \
    htop
COPY package*.json ./
RUN npm ci
COPY . .
EXPOSE 3000
CMD ["npm", "run", "dev"]

## Stage 2: Build stage (compile/build your app)
FROM node:18-slim AS builder
WORKDIR /app
COPY package*.json ./
RUN npm ci --only=production
COPY . .
RUN npm run build

## Stage 3: Production environment (what actually runs in prod)
FROM node:18-alpine AS production
RUN addgroup -g 1001 -S nodejs && adduser -S nextjs -u 1001
WORKDIR /app
COPY --from=builder --chown=nextjs:nodejs /app/dist ./dist
COPY --from=builder --chown=nextjs:nodejs /app/node_modules ./node_modules
COPY --from=builder --chown=nextjs:nodejs /app/package.json ./package.json
USER nextjs
EXPOSE 3000
CMD ["npm", "start"]
Your devcontainer.json targets the development stage:
{
    "name": "Production-Ready Dev Container",
    "build": {
        "dockerfile": "Dockerfile",
        "target": "development"
    },
    "customizations": {
        "vscode": {
            "extensions": [
                "ms-vscode.vscode-typescript-next",
                "esbenp.prettier-vscode"
            ]
        }
    },
    "forwardPorts": [3000],
    "postCreateCommand": "npm install"
}
Your production deployment targets the production stage: docker build --target production -t myapp:prod .
The development stage gives you all the debugging tools and VS Code integration. The production stage is a 50MB Alpine Linux image that starts in 2 seconds. Same Dockerfile, two completely different containers.

CI/CD Integration That Won't Make You Cry
Most teams fuck this up by trying to run their dev container in CI/CD. Don't do this. Your CI/CD pipeline should build and test using the same toolchain as your dev container, but not the dev container itself. This follows continuous integration best practices and GitOps principles.
GitHub Actions Example That Works:
name: Build and Deploy
on:
  push:
    branches: [main]

jobs:
  test:
    runs-on: ubuntu-latest
    steps:
      - uses: actions/checkout@v4

      # Build the development stage for testing
      - name: Build dev container
        run: docker build --target development -t myapp:dev .

      # Run tests inside the container
      - name: Run tests
        run: docker run --rm myapp:dev npm test

      # Build production image
      - name: Build production image
        run: docker build --target production -t myapp:prod .

      # Deploy to your container registry
      - name: Push to registry
        run: |
          docker tag myapp:prod ${{ secrets.REGISTRY }}/myapp:${{ github.sha }}
          docker push ${{ secrets.REGISTRY }}/myapp:${{ github.sha }}
The key insight: your CI/CD builds both stages. The development stage runs your tests (same environment as local development), the production stage creates the deployable artifact. This ensures build reproducibility and follows container security best practices.
Security Hardening for Production Containers
Dev containers are designed for convenience, not security. Production containers need the opposite priority. Here's what changes:
Never Do This in Production:
- Run as root user (
USER rootin Dockerfile) - Install unnecessary packages (
curl,git,vim, etc.) - Include secrets in environment variables
- Use
latesttags for base images - Run SSH or remote access services
Always Do This Instead:
- Create dedicated non-root user (example)
- Use minimal base images (
alpine,distroless, orslimvariants) - Store secrets in Docker secrets or Kubernetes secrets
- Pin specific image versions (
node:18.17.0-alpinenotnode:18) - Disable unnecessary services and ports
Production Dockerfile Security Example:
## Production stage with proper security
FROM node:18.17.0-alpine AS production

## Create non-root user
RUN addgroup -g 1001 -S appgroup && \
    adduser -S appuser -u 1001 -G appgroup

## Set working directory
WORKDIR /app

## Copy and set ownership in one step
COPY --chown=appuser:appgroup package*.json ./
COPY --chown=appuser:appgroup dist ./dist

## Install only production dependencies
RUN npm ci --only=production && npm cache clean --force

## Switch to non-root user
USER appuser

## Run with minimal privileges
EXPOSE 3000
CMD ["npm", "start"]
This creates a production container that follows Docker security best practices while maintaining the same application behavior as your development environment.
